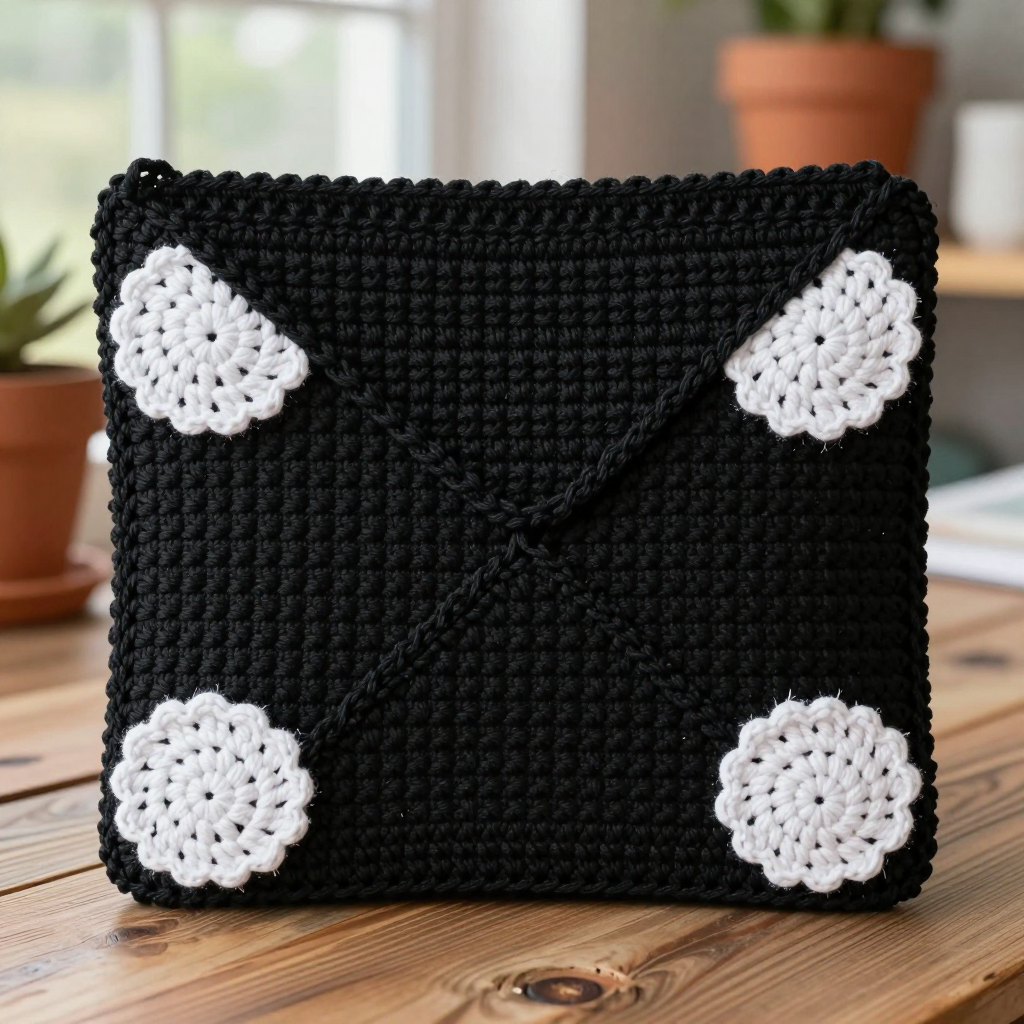
Two-Tone Wound Ball Cover Set: Free Crochet Pattern

Two-Tone Wound Ball Cover Set: Free Crochet Pattern
Introduction
This little drawstring pouch is the perfect home for a center-pull ball of yarn, keeping it tidy while the working end peeks out through the top. It is made from just three joined crochet circles, so the construction is simple and satisfying even if you have only made flat pieces before. The two-tone look — soft oatmeal centers ringed in charcoal — gives it a calm, minimalist feel that looks lovely sitting on a shelf or in a project bag. Worked in worsted cotton, it feels sturdy and smooth in the hand, and it comes together quickly in an evening or two.
Materials Needed
- Yarn: Worsted weight (category 4) cotton. Color A (oatmeal): 80 yd. Color B (charcoal): 80 yd.
- Hook: 5.0 mm (US H-8)
- Notions: Stitch marker, tapestry needle, scissors
- Finished size: Approximately 6 inches diameter and 3 inches deep
Abbreviations
- MR — magic ring: an adjustable loop you crochet into to start a circle with no hole.
- sc — single crochet: insert hook, pull up a loop, yarn over, pull through both loops.
- inc — increase: work 2 single crochet into the same stitch.
- ch — chain.
- sl st — slip stitch: insert hook, yarn over, pull through all loops on the hook.
- sp — space (the gap made by a chain).
- sts — stitches.
- A / B — Color A (oatmeal) / Color B (charcoal).
Gauge
16 stitches and 16 rounds = 4 inches in single crochet. To check, crochet a small flat swatch in the round and measure across the middle; if you have more stitches than 16 in 4 inches, go up a hook size, and if you have fewer, go down.
Tips Before You Start
- Work each circle in a continuous spiral rather than joining rounds — place a stitch marker in the first stitch of each round so you always know where you are.
- Keep your tension even and slightly firm; a loose circle will make the pouch floppy and the overlaps harder to line up.
- Count your stitches at the end of every round. Each round adds exactly 6 stitches, so a quick count keeps the circle flat.
- When you change from A to B after Round 6, pull the new color through on the last stitch of Round 6 so the color change sits cleanly at the start of Round 7.
Step-by-Step Instructions
Circle A (make 3, in Color A)
Rnd 1: MR, 6 sc into the ring (6 sts).
Rnd 2: inc in each st around (12 sts).
Rnd 3: [sc, inc] x6 (18 sts).
Rnd 4: [2 sc, inc] x6 (24 sts).
Rnd 5: [3 sc, inc] x6 (30 sts).
Rnd 6: [4 sc, inc] x6 (36 sts).
Rnd 7: [5 sc, inc] x6 (42 sts).
Rnd 8: [6 sc, inc] x6 (48 sts).
Rnd 9: [7 sc, inc] x6 (54 sts).
Rnd 10: [8 sc, inc] x6 (60 sts).
Rnd 11: [9 sc, inc] x6 (66 sts).
Rnd 12: [10 sc, inc] x6 (72 sts). Fasten off.
Circle B (make 3, in Colors A and B)
Work as for Circle A through Round 6 in Color A (36 sts). Change to Color B.
Rnds 7–12: Continue exactly as for Circle A Rounds 7–12 in Color B, ending with 72 sts. Fasten off.
Join the Circles
Arrange the 3 circles in a row, overlapping the edges of neighboring circles by 6 sts. With Color A, single crochet through both layers to join: work 12 sc evenly along each overlap (2 overlaps, 24 joining sts total). Fasten off.
Fold and Join Sides
Fold the joined strip in half with right sides together to form a pouch. With Color A, join each side edge with sc: work 24 sc along each side (2 sides, 48 sts total). Fasten off.
Top Edging (Color B)
Rnd 1: Join B at the top edge, sc evenly around (72 sts).
Rnd 2: [sc, ch 1, skip 1] around (36 sc, 36 ch-1 sps).
Rnd 3: sc in each sc and in each ch-1 sp around (72 sts). Fasten off.
Drawstring (make 2, Color B)
Row 1: Ch 70, sl st in each ch across (70 sl sts). Fasten off, leaving a short tail.
Assembly and Finishing
Weave in all ends with the tapestry needle, working them into the wrong side of the fabric so they don't show through the circles. Thread one drawstring through the eyelet round (Round 2 of the top edging), starting at one side and going all the way around; thread the second drawstring through the same eyelets starting from the opposite side so the two ends meet on opposite sides and pull closed evenly. Tie a small knot in each drawstring end to stop it slipping back through. Block lightly: mist the pouch with water, shape it gently with your hands, and let it dry flat and open so the circles hold their round shape.
Pro Tips and Variations
- Swap the two colors for a bolder look, or use a self-striping cotton so each circle's outer ring comes out different.
- Add a third drawstring or a small crochet loop at the top so the pouch can hang from a project bag handle.
- Make a smaller version by stopping the circles at Round 10 (60 sts) for a cover that fits a smaller ball of yarn.