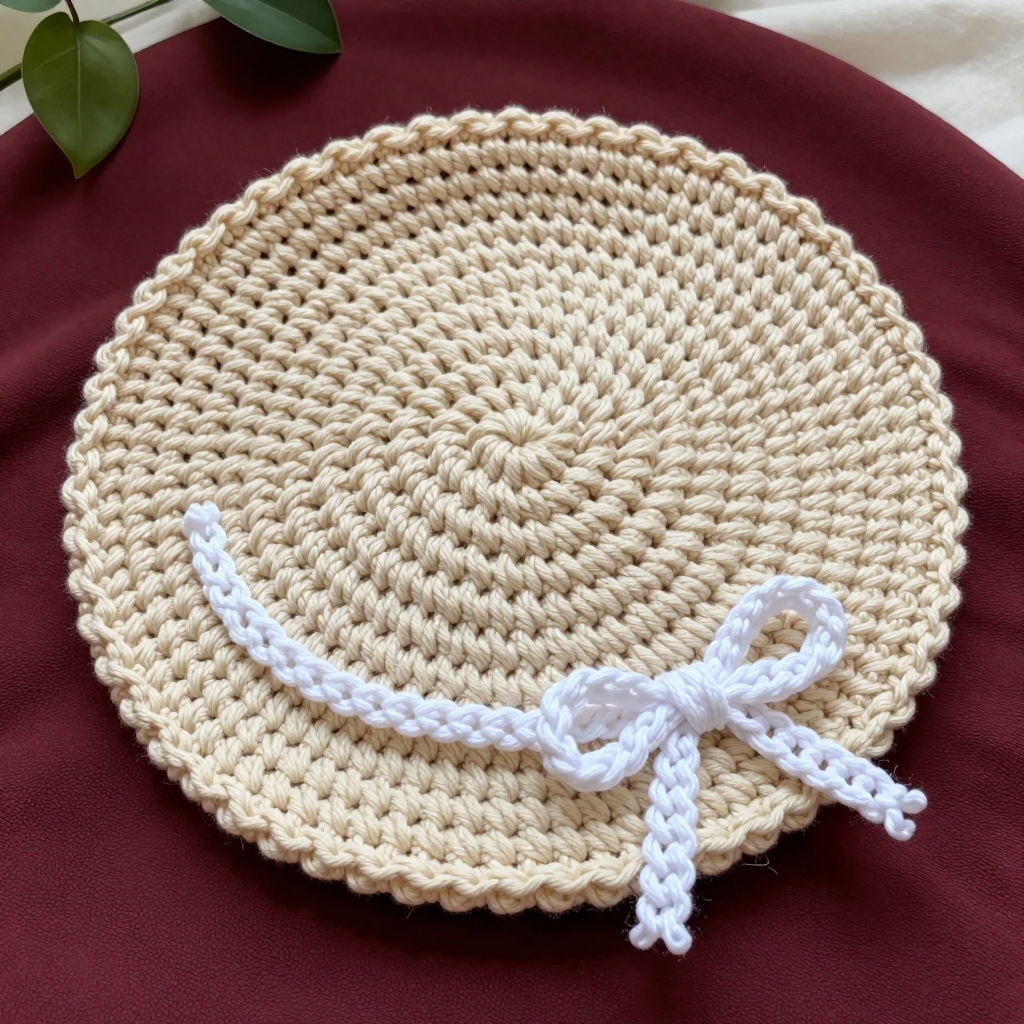
Solid Camel Crochet Beanie with Bow Free Pattern

Solid Camel Crochet Beanie with Bow Free Pattern
Introduction
This solid camel crochet beanie is the perfect project for anyone who has just learned single crochet and wants a finished accessory they will actually wear. It is worked as a simple tube in joined rounds, so there is no complicated shaping to worry about, and the crown is closed with a quick gather at the very end. The smooth single crochet fabric in warm camel gives it a clean, classic look, while a small navy bow sewn at the side of the brim adds just the right preppy touch. It feels soft and cozy against the head, and it works up quickly enough to make one for yourself and one for a friend.
Materials Needed
ul>Abbreviations
- ch – chain: make a loop of yarn and pull it through the loop on your hook.
- sc – single crochet: insert hook into stitch, yarn over, pull up a loop, yarn over, pull through both loops.
- sl st – slip stitch: insert hook into stitch, yarn over, pull through both the stitch and the loop on your hook.
- st(s) – stitch(es)
- rnd – round: one complete circle of stitches worked around the hat.
- tog – together
Gauge
16 stitches and 12 rows = 4 inches in single crochet. To check your gauge, crochet a small swatch in single crochet, measure 4 inches across the middle, and count the stitches; adjust your hook size if you have too many or too few stitches.
Tips Before You Start
- When you join the starting chain into a ring, check carefully that the chain is not twisted before you work the first round.
- Use a stitch marker in the first stitch of each round so you always know where to join.
- Keep your single crochet tension even and relaxed; tight stitches make the hat stiff and smaller than the finished size.
- Save a long tail (about 12 inches) when you fasten off the hat body, because you will use it to gather the crown closed.
Step-by-Step Instructions
Hat Body (Color A – Camel)
Set-up: Ch 80, join with sl st to first ch to form a ring, being careful not to twist.
Rnd 1: Ch 1, sc in each ch around, join with sl st to first sc (80 sts).
Rnds 2–40: Ch 1, sc in each st around, join with sl st to first sc (80 sts).
Finish: Fasten off leaving a long tail (about 12 inches). Turn the hat inside out.
Gathering the Crown
Thread the long tail onto a tapestry needle and weave it through the top edge of the last round, going in and out of every stitch around. Pull the tail tight to gather the top closed, then secure with a few small stitches and knot. Sew the side seam closed if a gap remains, then turn the hat right side out.
Bow (Color B – Navy)
Set-up: Ch 12.
Row 1: Sc in 2nd ch from hook and each ch across (11 sts).
Rows 2–6: Ch 1, turn, sc in each st across (11 sts).
Finish: Fasten off leaving a long tail. Wrap the tail around the center of the bow several times to cinch it, then secure.
Assembly and Finishing
Pin the navy bow to the side of the brim where you would like it to sit, then sew it in place with the tapestry needle and matching navy yarn, catching the cinched center securely. Weave in all remaining ends on the inside of the hat. Block lightly by misting with water and shaping the hat over a bowl or hat form; let it dry completely before wearing.
Pro Tips and Variations
- Make the bow in a contrasting color such as burgundy, forest green, or cream for a different preppy look.
- Work the hat body in half double crochet for a slightly taller, softer fabric, adjusting your round count to keep the 8.5-inch height.
- Add a folded brim by working the last 6 rounds in a slightly smaller hook size for a snugger fit.