Seaside Squiggle Trim Top: Free Crochet Pattern

Seaside Squiggle Trim Top: Free Crochet Pattern
Introduction
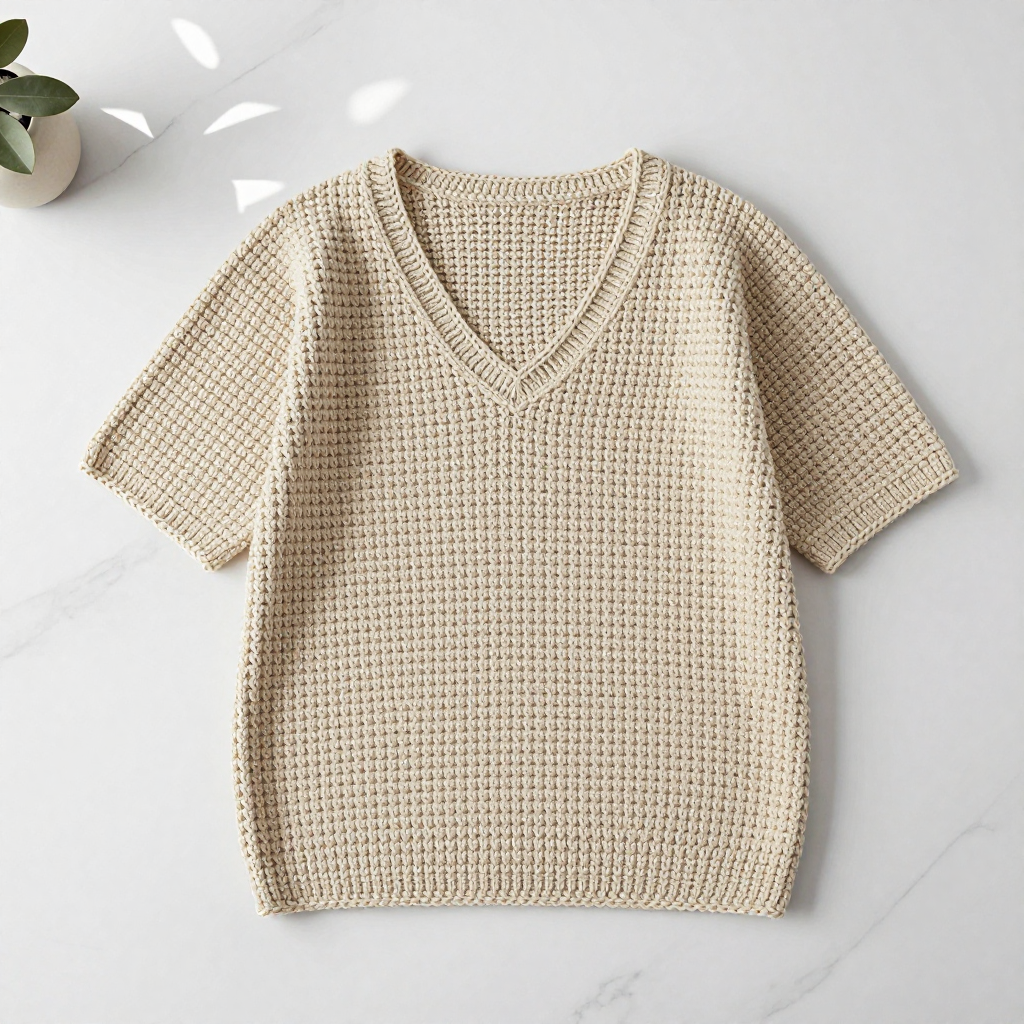
The Seaside Squiggle Trim Top is a boxy, straight-sided tee that anyone can wear, from confident beginners taking on their first garment to seasoned makers who want a relaxing, rhythmic project. It is crocheted from two simple rectangles in basketweave stitch, so there is no waist shaping, no complicated armhole math, and no stress. The navy and white stripes give it a crisp nautical look, while the raised woven grid of front-post and back-post double crochet adds texture you can see and feel. A delicate white chain-loop squiggle trims the neckline and cuffs, finishing the top with a soft, playful detail that makes it feel special every time you pull it on.
Materials Needed
- Yarn: Worsted weight (CYC 4) recycled cotton, approximately 400–500 yds total: Navy (A) 250 yds, White (B) 150 yds.
- Hook: 5.0 mm (H-8) crochet hook.
- Notions: Tapestry needle for seaming and weaving in ends, stitch markers, measuring tape, scissors.
- Finished size: Chest circumference 40 inches, length 20 inches, sleeve length 8 inches (fits sizes M–L).
Abbreviations
- ch — chain: yarn over and pull through the loop on your hook.
- dc — double crochet: yarn over, insert hook in stitch, pull up a loop, yarn over and pull through 2 loops twice.
- fpdc — front post double crochet: work a double crochet around the post of the stitch, inserting the hook from front to back to front.
- bpdc — back post double crochet: work a double crochet around the post of the stitch, inserting the hook from back to front to back.
- sc — single crochet: insert hook in stitch, pull up a loop, yarn over and pull through both loops.
- sl st — slip stitch: insert hook in stitch, yarn over and pull through both the stitch and the loop on your hook.
- sk — skip: miss the stated stitch without working into it.
- rep — repeat: work the bracketed instructions again as many times as stated.
- sts — stitches.
Gauge
14 sts and 8 rows = 4 inches in basketweave stitch pattern. Work a small swatch in pattern and measure it flat without stretching; if you have more stitches than 14 in 4 inches, go up a hook size, and if you have fewer, go down.
Tips Before You Start
- Both panels are worked sideways as flat rectangles, so check your width (70 dc ≈ 20 inches) as you go rather than relying on row count alone.
- Change colors on the last yarn-over of the final stitch of a row so the new stripe starts cleanly at the edge.
- Keep your front-post and back-post stitches relaxed; pulling them tight flattens the basketweave grid.
- Try the panels against yourself before seaming — the boxy fit is meant to be roomy, but you can adjust the side seam placement for more or less ease.
Step-by-Step Instructions
Back Panel (A)
Row 1: Ch 72, dc in 4th ch from hook and each ch across (70 dc).
Rows 2–3: Ch 3, turn, dc in each st across (70 dc).
Rows 4–5: Ch 3, turn, [fpdc around next 4 sts, bpdc around next 4 sts] rep across, ending with fpdc (70 sts).
Rows 6–7: Ch 3, turn, [bpdc around next 4 sts, fpdc around next 4 sts] rep across (70 sts).
Rows 8–9: Repeat Rows 4–5 (70 sts).
Rows 10–11: Repeat Rows 6–7 (70 sts).
Continue repeating Rows 4–7 for the stripe pattern, changing color as follows: work 6 rows A, 4 rows B, 6 rows A, 4 rows B, 6 rows A. Fasten off.
Front Panel
Work the same as the Back Panel, following the same stripe sequence. Fasten off.
Sleeves (make 2)
Row 1: With A, ch 42, dc in 4th ch from hook and each ch across (40 dc).
Rows 2–3: Ch 3, turn, dc in each st across (40 dc).
Rows 4–5: Ch 3, turn, [fpdc around next 4 sts, bpdc around next 4 sts] rep across (40 sts).
Rows 6–7: Ch 3, turn, [bpdc around next 4 sts, fpdc around next 4 sts] rep across (40 sts).
Rows 8–11: Repeat Rows 4–7 once more (40 sts). Fasten off.
Assembly
With right sides facing, sew shoulder seams, leaving 8 inches open for the neck. Sew side seams from the bottom up to the armhole, leaving 8 inches open for armholes. Sew sleeve seams and attach the sleeves to the armholes.
Edging (B)
Neckline sc round: Join B at the shoulder seam, ch 1, sc evenly around the neckline, join with sl st.
Neckline squiggle trim: Ch 3, sl st in next sc, [ch 3, sk 1 sc, sl st in next sc] rep around, join with sl st. Fasten off.
Cuff sc round: Join B at the sleeve seam, sc evenly around the cuff, join with sl st.
Cuff squiggle trim: Ch 3, sl st in next sc, [ch 3, sk 1 sc, sl st in next sc] rep around, join with sl st. Fasten off. Repeat the cuff rounds on the second sleeve.
Assembly and Finishing
Seam the shoulders and sides as described above, then set in the sleeves and close the sleeve seams. Weave in all ends on the wrong side, working them through a few stitches in each direction so they stay secure. Block the finished top by misting it lightly and patting it flat to the measurements (40 inches chest, 20 inches length, 8-inch sleeves), then let it dry completely before wearing.
Pro Tips and Variations
- Swap the stripe colors for a single solid shade, or use a self-striping cotton for a beachy, no-fuss look.
- Work the squiggle trim in a contrasting color, or add a second row of chain loops for a fuller, more ruffled edge.
- Lengthen the panels by a few rows for a tunic feel, or shorten the sleeves for a cap-sleeve version.