Ice Blue Velvet Strawberry Lampshade Free Crochet Pattern

Introduction
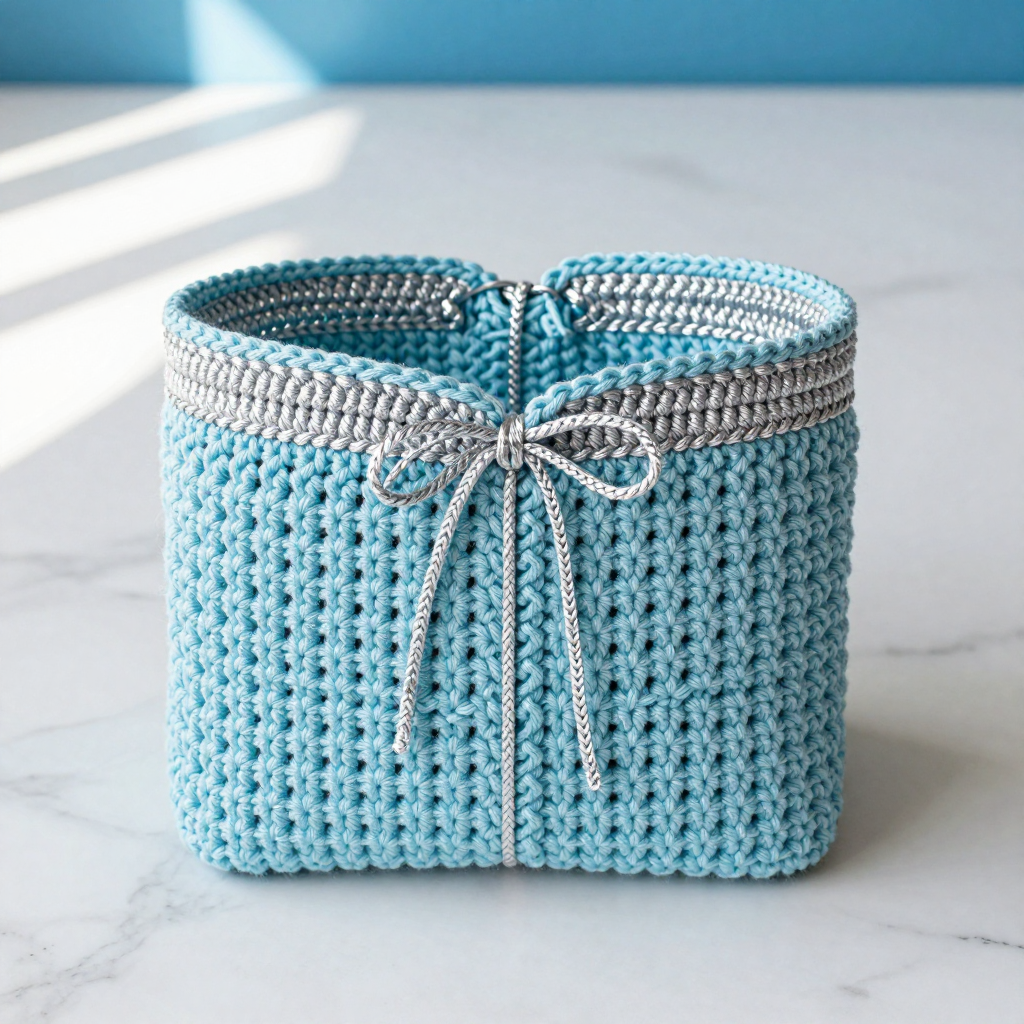
This ice blue velvet strawberry lampshade is a sweet, cottagecore touch for any cozy corner of your home. It is written for confident beginners who know basic single crochet and are ready to try a simple spike stitch, and it works up quickly in soft worsted weight velvet yarn. The ice blue cover has a gently ridged texture from the spike rounds, and twelve silver strawberries with tiny leaves sit in a neat grid across the surface. The finished piece looks plush and slightly shimmering, and it feels wonderfully soft to the touch.
Materials Needed
- Yarn: Worsted weight (4) velvet yarn. Main color (MC) ice blue: 200 yd. Contrast color (CC) silver: 50 yd.
- Hooks: 5.0 mm (H-8) for the lampshade cover; 4.0 mm (G-6) for the strawberries and leaves.
- Notions: Tapestry needle, scissors, stitch marker, and a lampshade frame or cylinder form (10 inches diameter x 8 inches height) to fit the cover over.
- Finished size: Cylinder 10 inches in diameter x 8 inches in height.
Abbreviations
- ch – chain
- sc – single crochet
- hdc – half double crochet
- dc – double crochet
- inc – increase: work 2 sc in the same stitch
- dec – decrease: work 2 sc together into one stitch
- spike st – spike stitch: work a sc into the stitch two rows below the current row, drawing the loop up to the working row
- MR – magic ring
- st(s) – stitch(es)
- R / Rnd – row / round
- MC / CC – main color / contrast color
Gauge
14 sts and 16 rows = 4 inches in the spike stitch pattern with the 5.0 mm hook. Work a small swatch in the R2–R5 pattern and measure a 4-inch section; adjust your hook size if needed to match.
Tips Before You Start
- Velvet yarn has a nap, so work all pieces with the yarn feeding from the same direction to keep the sheen even.
- Keep your spike stitches loose enough to lie flat; pulling them tight puckers the surface.
- Count your stitches at the end of every round of the strawberry so the increases and decreases stay even.
- Pin the strawberries in place before sewing so you can adjust the 3 x 4 grid spacing evenly.
Step-by-Step Instructions
Lampshade Cover (MC)
With the 5.0 mm hook, ch 36. Join to form a ring.
R1: sc in each ch around (36 sts).
R2: [sc in next st, spike st in st 2 rows below] repeat around (36 sts).
R3: sc in each st around (36 sts).
R4: [spike st in st 2 rows below, sc in next st] repeat around (36 sts).
R5: sc in each st around (36 sts).
R6–R37: Repeat R2–R5 until the piece measures 8 inches, ending with R5 (36 sts). Fasten off.
Strawberry Appliqué (CC) – make 12
With the 4.0 mm hook, MR 6 sc.
Rnd 1: inc x6 (12 sts).
Rnd 2: [sc, inc] x6 (18 sts).
Rnd 3: [sc, sc, inc] x6 (24 sts).
Rnd 4: [sc, sc, sc, inc] x6 (30 sts).
Rnd 5: [sc, sc, sc, sc, inc] x6 (36 sts).
Rnd 6: sc in each st around (36 sts).
Rnd 7: [sc, sc, sc, sc, dec] x6 (30 sts).
Rnd 8: [sc, sc, sc, dec] x6 (24 sts).
Rnd 9: [sc, sc, dec] x6 (18 sts).
Rnd 10: [sc, dec] x6 (12 sts).
Rnd 11: dec x6 (6 sts). Fasten off, leaving a long tail for sewing.
Leaf (CC) – make 12
With the 4.0 mm hook, ch 6.
Row 1: sc in 2nd ch from hook, hdc in next, dc in next, hdc in next, sc in last (5 sts). Fasten off, leaving a long tail.
Assembly and Finishing
Sew one leaf to the top of each strawberry using the long tail. Arrange the 12 strawberries in a grid of 3 rows x 4 columns, evenly spaced on the lampshade cover, and pin them in place. Sew each strawberry securely to the cover with matching yarn, working around the edge so it lies flat. Weave in all ends on the wrong side. Block the cover lightly by misting and shaping it over the lampshade form, then let it dry fully before use.
Pro Tips and Variations
- Swap the silver strawberries for soft pink or cream for a different cottagecore palette.
- Use a 4.5 mm hook for a slightly denser cover if your lampshade form runs a little larger.
- Space the strawberries closer together for a fuller look, or use fewer for a more minimal design.