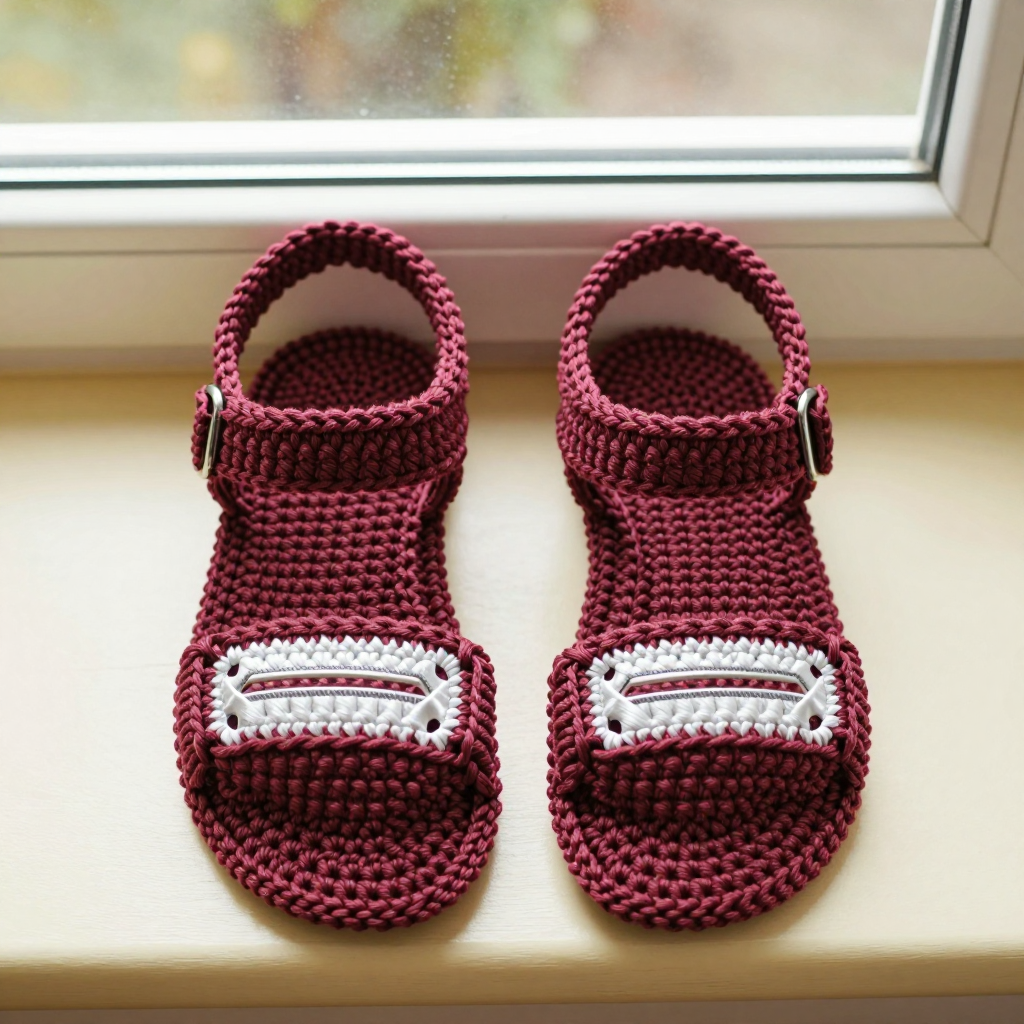
Cat Ear Granny Stocking Free Crochet Pattern

Cat Ear Granny Stocking Free Crochet Pattern
Introduction
This Cat Ear Granny Stocking is the perfect kawaii touch for your holiday mantel, and it is beginner-friendly too. It is built from two simple solid granny squares joined into a tube, so the leg works up fast in super bulky yarn. The white foot panel tapers to a sewn toe, while two little cat ears and a fan of whiskers give it that playful kitty face. It is soft, squishy, and about 16 inches long, so it holds plenty of treats while looking adorable.
Materials Needed
- Yarn: Super bulky (weight 6) yarn, acrylic or wool blend. Black: approx. 150 yards; White: approx. 50 yards.
- Hook: 8 mm (US L-11).
- Notions: Tapestry needle, scissors, stitch marker (optional).
- Finished size: Approx. 16 inches (41 cm) long from cuff to toe, 8 inches (20 cm) wide across the foot, cuff circumference approx. 14 inches (36 cm) unstretched.
Abbreviations
- ch – chain
- sl st – slip stitch
- sc – single crochet
- dc – double crochet
- dc2tog – double crochet two stitches together (a decrease)
- sc2tog – single crochet two stitches together (a decrease)
- sp – space
- st(s) – stitch(es)
- rep – repeat
Gauge
6 dc x 3 rows = 2 inches (5 cm) in solid granny square pattern. To check it, crochet a small swatch of dc rows and measure a 2-inch section; adjust your hook size if needed.
Tips Before You Start
- Keep your granny square corners loose so the ch-2 spaces stay open and easy to work into.
- Count your dc after each round; the squares must match so the leg tube lines up evenly.
- When joining the squares, use the same yarn weight and a firm whipstitch so the seam does not gap.
- Try the cuff on before finishing; super bulky sc can be snug, so add a round if you want a looser fit.
Step-by-Step Instructions
Stocking Leg (Black) – Make 2 Squares (A)
Square (A): Ch 4, join with sl st to form ring.
R1: Ch 3 (counts as dc), 2 dc in ring, [ch 2, 3 dc] 3 times, ch 2, join with sl st to top of ch 3. (12 dc, 4 ch-2 sps)
R2: Ch 3, dc in same sp, *dc in each dc to next ch-2 sp, (2 dc, ch 2, 2 dc) in ch-2 sp; rep from * around, join. (28 dc, 4 ch-2 sps)
R3: Ch 3, dc in same sp, *dc in each dc to next ch-2 sp, (2 dc, ch 2, 2 dc) in ch-2 sp; rep from * around, join. (44 dc, 4 ch-2 sps)
Fasten off. Make 2 squares.
Join squares: With right sides facing, whipstitch or sc the two squares together along one edge to form a tube (the leg).
Foot (White)
Work in rows on the bottom open edge of the leg.
Row 1: With white, join yarn at one corner of the leg opening, ch 3, dc evenly across 22 sts (approx. half of the leg opening). Turn. (22 dc)
Rows 2-6: Ch 3, dc in each st across. Turn. (22 dc)
Shape toe:
Row 7: Ch 3, dc2tog, dc in next 16 sts, dc2tog. Turn. (20 dc)
Row 8: Ch 3, dc2tog, dc in next 14 sts, dc2tog. Turn. (18 dc)
Row 9: Ch 3, dc2tog, dc in next 12 sts, dc2tog. Turn. (16 dc)
Row 10: Ch 3, dc2tog, dc in next 10 sts, dc2tog. Turn. (14 dc)
Row 11: Ch 3, dc2tog, dc in next 8 sts, dc2tog. Turn. (12 dc)
Row 12: Ch 3, dc2tog, dc in next 6 sts, dc2tog. Turn. (10 dc)
Row 13: Ch 3, dc2tog, dc in next 4 sts, dc2tog. Turn. (8 dc)
Row 14: Ch 3, dc2tog, dc in next 2 sts, dc2tog. Turn. (6 dc)
Row 15: Ch 3, dc2tog twice. Turn. (4 dc)
Row 16: Ch 3, dc2tog. Turn. (2 dc)
Row 17: Ch 3, dc in next st. Turn. (2 dc)
Fasten off, leaving a long tail. Sew the toe closed.
Cuff (Black)
Join black at the top edge of the leg.
R1: Ch 1, sc evenly around top edge (approx. 28 sc). Join with sl st.
R2-4: Ch 1, sc in each st around. Join. (28 sc)
Fasten off.
Ears (Black) – Make 2
Ch 2.
Row 1: 2 sc in second ch from hook. Turn. (2 sc)
Row 2: Ch 1, 2 sc in each st across. Turn. (4 sc)
Row 3: Ch 1, sc in each st across. Turn. (4 sc)
Row 4: Ch 1, 2 sc in first st, sc in next 2 sts, 2 sc in last st. Turn. (6 sc)
Row 5: Ch 1, sc in each st across. Turn. (6 sc)
Row 6: Ch 1, sc2tog, sc in next 2 sts, sc2tog. Turn. (4 sc)
Row 7: Ch 1, sc2tog twice. Turn. (2 sc)
Fasten off, leaving a tail for sewing.
Whiskers (White) – Make 6
Ch 7, sl st in second ch from hook and in each ch across. Fasten off. (6 whiskers)
Edging (Optional)
Join white at the top edge of the cuff, ch 1, sc in each st around, join with sl st. Fasten off.
Assembly and Finishing
Sew the ears to the front of the cuff, approx. 2 inches apart, with the points facing up. Sew 3 whiskers on each side of the white foot panel near the toe, using white yarn and a tapestry needle, arranged in a fan shape. Weave in all ends. Block lightly if desired, shaping the toe and ears while damp, then let dry completely.
Pro Tips and Variations
- Swap the black for deep green or plum for a different holiday look while keeping the white foot panel.
- Add a small hanging loop of ch 10 at the back of the cuff so the stocking can hang on a hook.
- Use a contrasting yarn for the whiskers, such as silver, to make the kitty face pop.