Boba Pearls Circle Pillow Free Crochet Pattern

Boba Pearls Circle Pillow Free Crochet Pattern
Introduction
If you love a little whimsy in your home decor, this Boba Pearls Circle Pillow is for you. It is a beginner-friendly, intermediate-level project that turns simple single crochet circles into a playful boba tea tribute, complete with a cluster of black "tapioca pearls" and a tiny white straw.
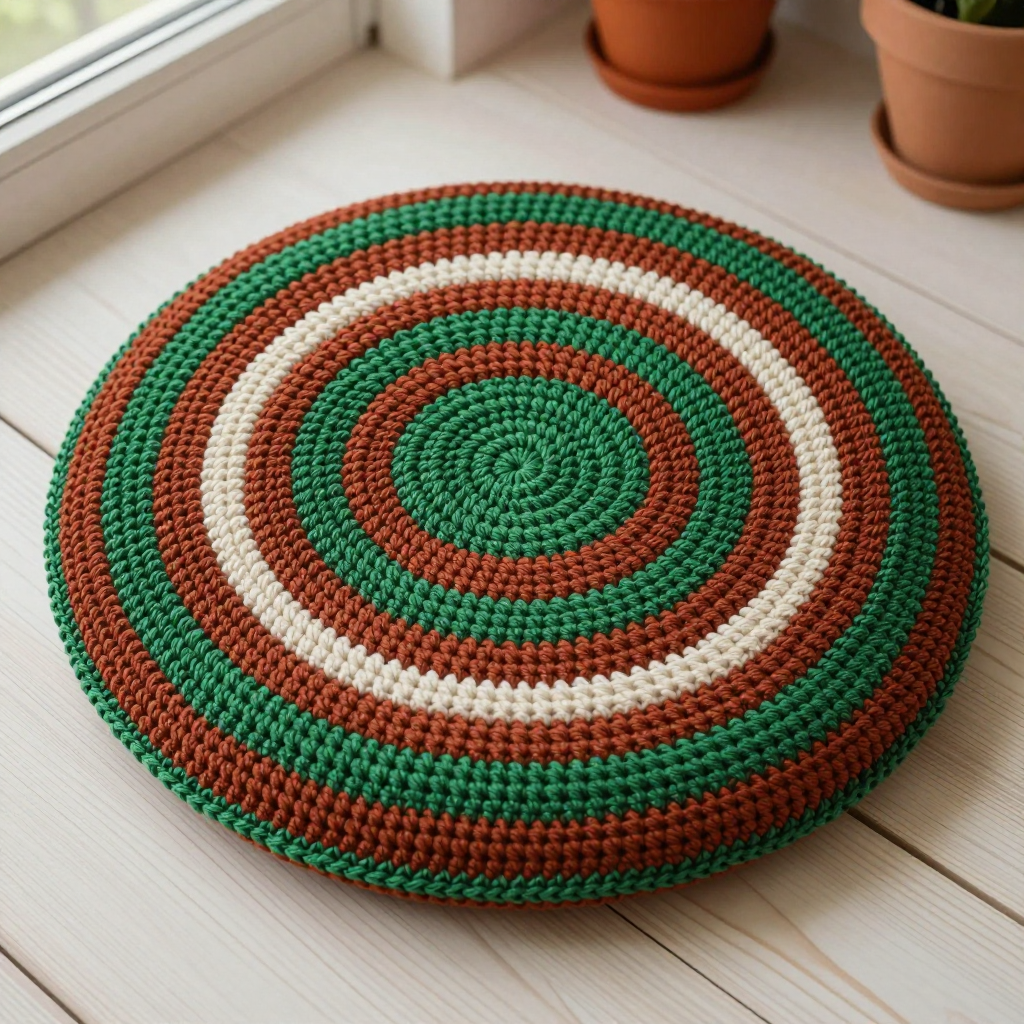
The pillow is worked as two flat cobalt discs with a wide orange border ring, joined together and stuffed for a plump, squishy accent piece. The plain single crochet texture keeps the stitches neat and even, while the bold cobalt-and-orange color block makes it pop on a sofa, bed, or reading chair.
At about 14 inches across, it is the perfect size for a quick weekend make and a fun way to practice color changes and simple appliqué. Let's get stitching!
Materials Needed
- Yarn: Worsted weight acrylic yarn — 200 yards cobalt, 100 yards orange, 20 yards black, 10 yards white
- Hook: 5.0 mm (H-8) crochet hook
- Notions: Stitch marker, tapestry needle, scissors, polyester fiberfill stuffing
- Finished size: Approximately 14 inches (35.5 cm) in diameter
Abbreviations
- MR — magic ring: a loop of yarn you crochet into to start a circle with no hole
- sc — single crochet
- inc — increase: work 2 single crochet stitches into the same stitch
- ch — chain
- st(s) — stitch(es)
- Rnd — round
- Row — row
- [ ] x6 — repeat the instructions inside the brackets six times
Gauge
16 single crochet stitches x 18 rows = 4 inches (10 cm). Work a small swatch in single crochet and measure a 4-inch section; adjust your hook size if needed to match.
Tips Before You Start
- Use a stitch marker at the beginning of each round so you never lose your place in the continuous spiral.
- Keep your tension even — the two discs must match in size so the pillow joins neatly.
- Change to orange on the last stitch of Round 16 by pulling the new color through the final loop, so the color change is clean.
- Stuff the pillow firmly but not overstuffed, so the joined edge stays flat and round.
Step-by-Step Instructions
Pillow Front (Cobalt)
Rnd 1: MR, 6 sc (6 sts).
Rnd 2: inc x6 (12 sts).
Rnd 3: [sc, inc] x6 (18 sts).
Rnd 4: [2 sc, inc] x6 (24 sts).
Rnd 5: [3 sc, inc] x6 (30 sts).
Rnd 6: [4 sc, inc] x6 (36 sts).
Rnd 7: [5 sc, inc] x6 (42 sts).
Rnd 8: [6 sc, inc] x6 (48 sts).
Rnd 9: [7 sc, inc] x6 (54 sts).
Rnd 10: [8 sc, inc] x6 (60 sts).
Rnd 11: [9 sc, inc] x6 (66 sts).
Rnd 12: [10 sc, inc] x6 (72 sts).
Rnd 13: [11 sc, inc] x6 (78 sts).
Rnd 14: [12 sc, inc] x6 (84 sts).
Rnd 15: [13 sc, inc] x6 (90 sts).
Rnd 16: [14 sc, inc] x6 (96 sts). Change to orange.
Rnd 17: [15 sc, inc] x6 (102 sts).
Rnd 18: [16 sc, inc] x6 (108 sts).
Rnd 19: [17 sc, inc] x6 (114 sts).
Rnd 20: [18 sc, inc] x6 (120 sts).
Rnd 21: [19 sc, inc] x6 (126 sts).
Rnd 22: [20 sc, inc] x6 (132 sts).
Rnd 23: [21 sc, inc] x6 (138 sts).
Rnd 24: [22 sc, inc] x6 (144 sts).
Rnd 25: [23 sc, inc] x6 (150 sts).
Rnd 26: [24 sc, inc] x6 (156 sts).
Rnd 27: [25 sc, inc] x6 (162 sts).
Rnd 28: [26 sc, inc] x6 (168 sts).
Rnd 29: [27 sc, inc] x6 (174 sts).
Rnd 30: [28 sc, inc] x6 (180 sts). Fasten off.
Pillow Back (Cobalt)
Work as for the Front through Round 30 (180 sts). Do not fasten off.
Assembly Join (Orange)
Hold Front and Back with wrong sides together and align the stitches. Join orange to the Back at any stitch.
Join Rnd: sc through both layers around the entire circumference, leaving a 4-inch opening. Stuff the pillow firmly with fiberfill, then continue sc to close the opening. Fasten off.
Boba Pearls (Black) — make 12
Rnd 1: MR, 6 sc (6 sts).
Rnd 2: inc x6 (12 sts).
Rnds 3-4: sc in each st around (12 sts).
Fasten off, leaving a long tail for sewing.
Straw (White)
Row 1: Ch 12, sc in the 2nd ch from hook and in each ch across (11 sts).
Fasten off, leaving a long tail for sewing.
Assembly and Finishing
Thread a tapestry needle with the long tail of each Boba Pearl and sew them to the Front only, clustered near the bottom edge. Sew the Straw to the Front near the top edge at a slight angle. Weave in all remaining ends securely. Lightly steam or block the pillow by pinning it into a flat circle and misting it, then let it dry completely before displaying.
Pro Tips and Variations
- Swap the cobalt and orange for any two contrasting colors to match your room.
- Use a larger hook and bulky yarn to make an oversized floor pillow version.
- Sew the pearls with a few extra stitches each so they stay secure through washing and everyday use.