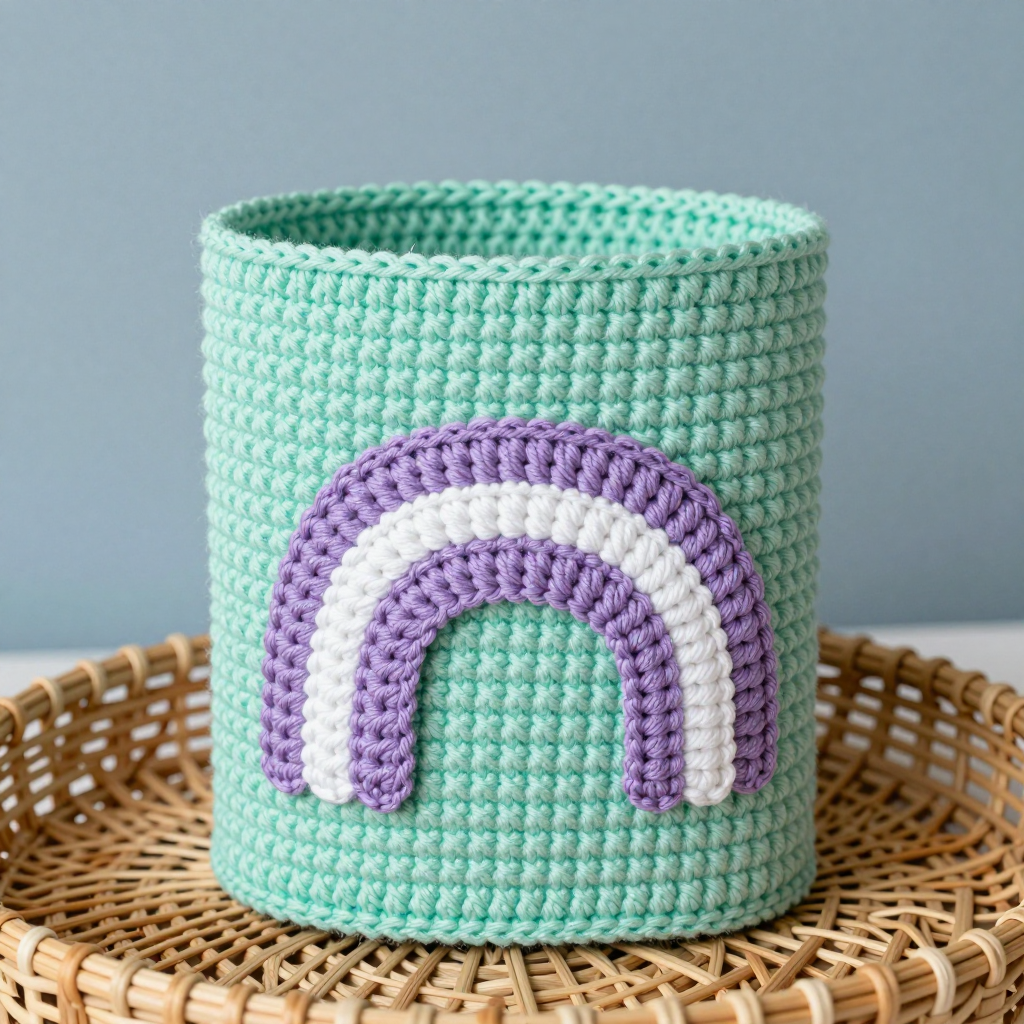
Tiki Hut Desk Caddy: Free Crochet Pattern

Introduction
This little Tiki Hut Desk Caddy is the perfect project for anyone who wants a quick, useful make with a tropical twist. It is a tall crocheted tube worked in natural undyed cotton, topped with a triangular roof piece in a slightly darker natural shade to suggest a tiki hut. The result is a sturdy, textured caddy that stands about 6 inches tall and holds pens, crochet hooks, and small desk items with ease. Because it uses only single crochet and simple increases, it is a wonderfully beginner-friendly pattern that looks and feels like a handmade vacation on your desk.
Materials Needed
- Yarn: Super bulky (weight 6) 100% cotton. Color A (natural undyed): 70 yd. Color B (natural, slightly darker shade): 20 yd.
- Hook: 6.5 mm (K/10.5) crochet hook.
- Notions: Stitch marker, tapestry needle, scissors.
- Finished size: 6" tall x 4.5" diameter.
Abbreviations
- MR: Magic ring — an adjustable loop used to start working in the round.
- sc: Single crochet — insert hook, yarn over, pull up a loop, yarn over, pull through both loops.
- inc: Increase — work 2 single crochet stitches into the same stitch.
- blo: Back loop only — work into the back loop of each stitch instead of both loops.
- ch: Chain.
- rnd: Round — one complete circle of stitches worked in the round.
- sts: Stitches.
Gauge
8 stitches and 8 rounds = 4 inches in single crochet. To check, crochet a small swatch in single crochet and measure a 4-inch section; adjust your hook size if needed to match.
Tips Before You Start
- Use a stitch marker in the first stitch of each round so you never lose your place in the body.
- Keep your tension even and firm so the caddy stands up straight and holds its shape.
- The base round worked in back loops only creates a crisp ridge where the base meets the body — don't skip it.
- When sewing on the roof, pin it first with the center aligned to the front so the back stays open for access.
Step-by-Step Instructions
Base (Color A)
Rnd 1: MR, 6 sc into the ring (6 sts).
Rnd 2: inc x6 (12 sts).
Rnd 3: [sc, inc] x6 (18 sts).
Rnd 4: [2 sc, inc] x6 (24 sts).
Rnd 5: [3 sc, inc] x6 (30 sts).
Rnd 6: sc in blo (30 sts).
Body (Color A)
Rnds 7-20: sc in each st around (30 sts).
Fasten off.
Roof (Color B)
Row 1: ch 2, 2 sc in 2nd ch from hook (2 sts).
Row 2: ch 1, turn, inc x2 (4 sts).
Row 3: ch 1, turn, [sc, inc] x2 (6 sts).
Row 4: ch 1, turn, [2 sc, inc] x2 (8 sts).
Row 5: ch 1, turn, [3 sc, inc] x2 (10 sts).
Row 6: ch 1, turn, [4 sc, inc] x2 (12 sts).
Row 7: ch 1, turn, [5 sc, inc] x2 (14 sts).
Row 8: ch 1, turn, [6 sc, inc] x2 (16 sts).
Row 9: ch 1, turn, [7 sc, inc] x2 (18 sts).
Row 10: ch 1, turn, [8 sc, inc] x2 (20 sts).
Row 11: ch 1, turn, [9 sc, inc] x2 (22 sts).
Row 12: ch 1, turn, [10 sc, inc] x2 (24 sts).
Row 13: ch 1, turn, [11 sc, inc] x2 (26 sts).
Row 14: ch 1, turn, [12 sc, inc] x2 (28 sts).
Row 15: ch 1, turn, [13 sc, inc] x2 (30 sts).
Do not fasten off.
Edging (Color B)
Edging: ch 1, sc evenly around the entire roof piece (approx 60 sts). Fasten off.
Assembly and Finishing
Sew the roof to the top of the body, aligning the center of the roof with the front of the caddy and leaving the back open for access. Weave in all ends neatly on the inside. Lightly steam or mist block the caddy and roof so the base sits flat and the roof holds its triangle shape.
Pro Tips and Variations
- Work the body in a slightly taller stitch (such as half double crochet) for a softer, more relaxed caddy.
- Add a contrasting stripe or two in Color B around the body for a fun tropical band.
- Make a second, smaller version in the same colors as a matching pencil cup or hook holder.