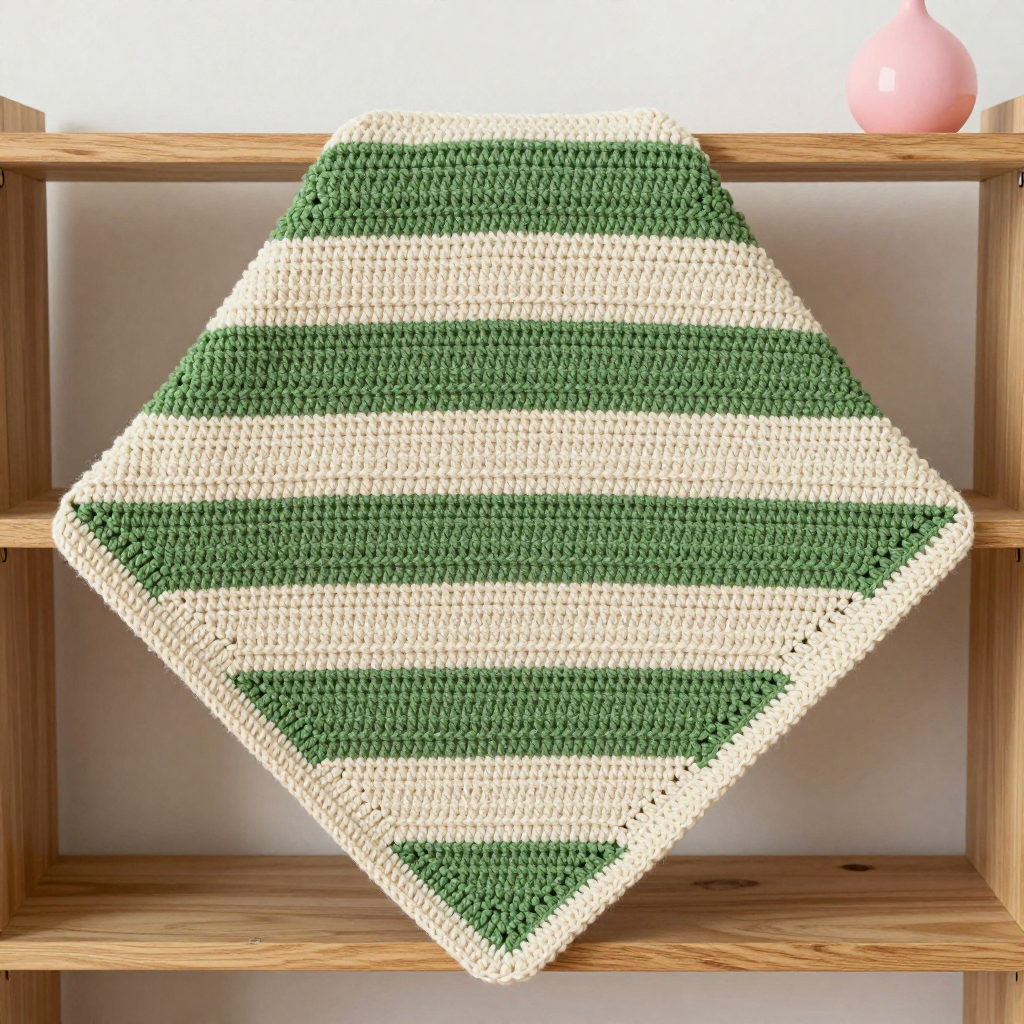
Lilac Rowboat with Oar Blanket Free Crochet Pattern

Introduction
This Lilac Rowboat with Oar Blanket is a sweet, dreamy baby blanket for anyone expecting a little one or looking for a handmade baby shower gift. Worked in soft lilac and mint stripes, it looks like a calm little rowboat floating on pastel water, with two round portholes and a pair of crocheted oars laid along one side. The body is simple half double crochet rows, so it grows quickly and stays beginner-friendly, while the small appliqués add a charming, experienced-friendly finish. The worsted weight acrylic makes it squishy, warm, and easy to wash, perfect for tummy time and stroller naps.
Materials Needed
- Yarn: (4) Medium worsted weight acrylic, approx. 1,050 yd total: Lilac (A) 620 yd, Mint (B) 380 yd, Cream (C) 50 yd
- Hook: 5.0 mm (H/8) crochet hook
- Notions: Tapestry needle, stitch markers, scissors, measuring tape
- Finished size: Approx. 40 in (102 cm) long x 30 in (76 cm) wide
Abbreviations
- ch – chain
- hdc – half double crochet
- sc – single crochet
- sl st – slip stitch
- inc – increase (work 2 sc in the same stitch)
- sc2tog – single crochet 2 stitches together (a decrease)
- MR – magic ring
- RS – right side
- st(s) – stitch(es)
Gauge
14 hdc x 11 rows = 4 in (10 cm) in hdc after blocking. Work a small swatch in hdc, block it, and measure a 4 in section to check your gauge before starting.
Tips Before You Start
- The ch 2 at the start of each hdc row does not count as a stitch, so always work your first hdc into the first stitch of the row.
- Change colors on the last stitch of the previous row for a clean stripe edge, and keep your tension even so the stripes lie flat.
- Block the blanket body before sewing on the appliqués so the portholes and oars sit straight and evenly spaced.
- Use a stitch marker to track your stripe changes so you never lose your place in the long repeat sequence.
Step-by-Step Instructions
Blanket Body (A)
Ch 106.
R1: Hdc in 3rd ch from hook and each ch across (104 hdc).
R2-8: Ch 2, turn, hdc in each st across (104).
Change to B.
R9-14: Ch 2, turn, hdc in each st across (104).
Change to A.
R15-26: Ch 2, turn, hdc in each st across (104).
Change to B.
R27-32: Ch 2, turn, hdc in each st across (104).
Change to A.
R33-44: Ch 2, turn, hdc in each st across (104).
Change to B.
R45-50: Ch 2, turn, hdc in each st across (104).
Change to A.
R51-62: Ch 2, turn, hdc in each st across (104).
Change to B.
R63-68: Ch 2, turn, hdc in each st across (104).
Change to A.
R69-80: Ch 2, turn, hdc in each st across (104).
Change to B.
R81-86: Ch 2, turn, hdc in each st across (104).
Change to A.
R87-98: Ch 2, turn, hdc in each st across (104).
Change to B.
R99-104: Ch 2, turn, hdc in each st across (104).
Change to A.
R105-110: Ch 2, turn, hdc in each st across (104). Fasten off. (110 rows total; 12 stripes alternating A/B, A at both ends.)
Porthole Appliqué (C) – Make 2
Rnd 1: MR, 6 sc (6).
Rnd 2: Inc x6 (12).
Rnd 3: [Sc, inc] x6 (18).
Rnd 4: [2 sc, inc] x6 (24).
Rnd 5: [3 sc, inc] x6 (30).
Rnd 6: [4 sc, inc] x6 (36).
Rnd 7: [5 sc, inc] x6 (42). Sl st to first sc, fasten off leaving an 18 in tail.
Porthole Inner Ring (B)
With B, work a surface sl st around R6 of each porthole (42 sl st). Fasten off.
Oar (C) – Make 2
Ch 4.
R1: Sc in 2nd ch from hook and each ch across (3 sc).
R2-26: Ch 1, turn, sc in each st across (3 sc).
R27: Ch 1, turn, sc in first st, 2 sc in next st, sc in last st (4 sc).
R28: Ch 1, turn, sc in each st across (4 sc).
R29: Ch 1, turn, sc, 2 sc, 2 sc, sc (6 sc).
R30: Ch 1, turn, sc in each st across (6 sc).
R31: Ch 1, turn, sc, 2 sc, sc, sc, 2 sc, sc (8 sc).
R32-34: Ch 1, turn, sc in each st across (8 sc).
R35: Ch 1, turn, sc2tog, sc x4, sc2tog (6 sc).
R36: Ch 1, turn, sc2tog, sc x2, sc2tog (4 sc).
R37: Ch 1, turn, sc2tog x2 (2 sc). Fasten off.
Oar Blade Stripe (B)
With B, work a surface sl st across R31 of each oar (8 sl st). Fasten off.
Edging (B)
With RS facing, join B at any corner.
Rnd 1: Ch 1, sc evenly around entire blanket, working 3 sc in each corner; join with sl st to first sc. Fasten off. Weave ends.
Assembly and Finishing
Block the blanket to 40 x 30 in and let it dry completely. Place the two portholes side by side, centered on the blanket width, 6 in below the top edge and 4 in apart. Whipstitch them in place with the cream tails. Lay the two oars parallel along the right side edge, blades pointing toward the top, 3 in from the edge and 2 in apart. Whipstitch along the oar shafts and blades. Weave in all remaining ends, then give the appliqués a light steam or spritz block so they lie flat.
Pro Tips and Variations
- Swap the lilac and mint for any two pastel shades to match the nursery, keeping the cream for the appliqués.
- Add a third porthole or a small cream fish appliqué for extra nautical charm.
- Work the edging in cream instead of mint for a softer, more subtle border.